 |
| The kit had the start of a nice cockpit
but had no rear cabin at all. I knew it would
bug me later if I didn't at least try to fake
it, so... I built up a cabin floor, added some
old leftover seats, and made up some details for
the walls out of scrap sheet styrene. |
 |
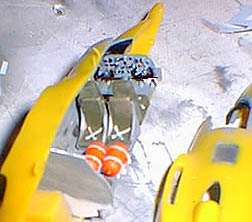
| After I applied a little paint I made seatbelts
out of masking tape and made rescue drop packs out
of extra KC-135 oxygen bottles. I couldn't find
any pictures of the real interior so this is all
made up. Hopefully none of you have ever seen inside
of a MU-2 either or I'm in trouble. |
 |
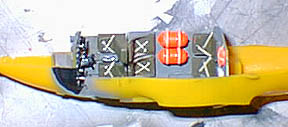
| The kit came with a decal for the instrument panel but
I wanted some dimension so I cut little disk-shaped
pieces off the end of a styrene cylinder rod and glued
them to the flat piece provided for an instrument panel.
The result is fairly convincing dials and gauges. |
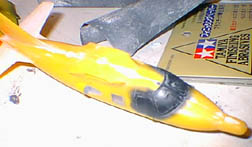 |
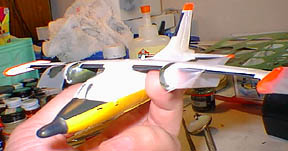
| After finishing up the inside and glueing the fuselage
halves together. I put the glass parts in and masked them
off with household clear tape. I painted black over the
the front windscreen so the framing would be black from the
inside after the white was applied. I used a little Squadron
White putty to fill the seam and sanded it down smooth. After
attaching the wings with the same procedure I washed it down
to prepare it for painting. |
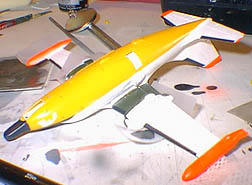 |
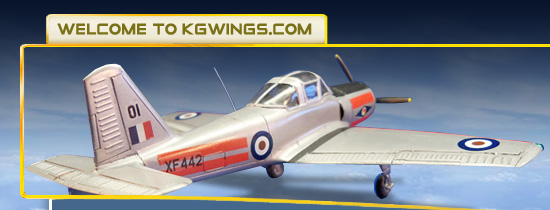
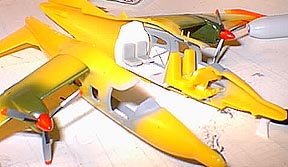
| This is a super neat kit... molded very nicely
considering the age of the original molding. The
big white splotch under the nose is evidence that you
should never give up on a kit (even though I have before).
Masking tape peeled up a huge chunk of yellow and
I had to sand the whole area down again and redo it. |
 |
| I used Testors Model Master Enamel paints on this one.
FS 13538 Chrome Yellow, FS 17875 Insignia White,
FS 28915 Fluorescent Red and FS 34086 Green Drab. |
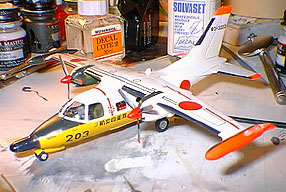 |
| I've gotten so accustomed to paintjobs that are
designed to hide aircraft, it felt strange painting
such vibrant colors on a kit. |