|
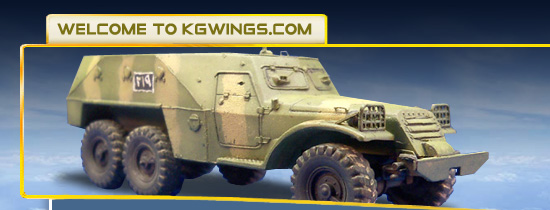
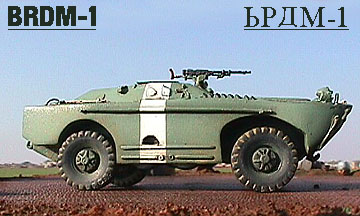
| The prototype BRDM-1 amphibious scout car was completed in February 1956. It was quickly accepted for service in the Soviet Army and production began late in 1957. |
|
| Total production of the BRDM-1 is believed to have amounted to over 10,000 vehicles. The hull of the BRDM-1 is made of all-welded steel with the engine at the front and the crew compartment at the rear. |
|
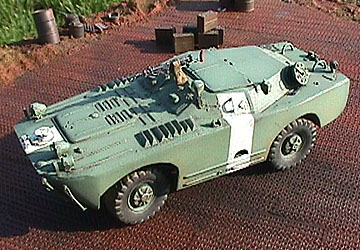
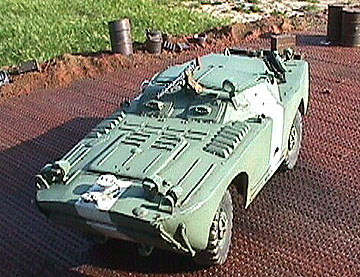
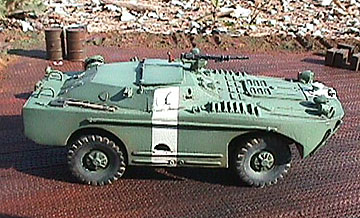
| Between the front and rear wheels, on both sides of the vehicle are two belly wheels which are lowered by the driver to give the BRDM-1 improved cross-country performance and also allows for ditch crossings. Standard equipment includes a central tire inflation system that allows the driver to adjust the pressure to match the ground type. |
|
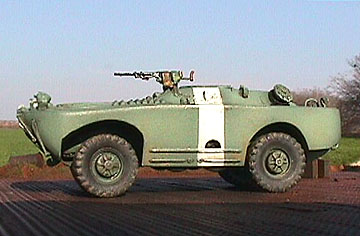
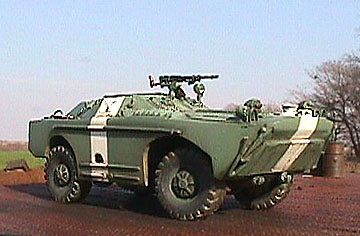
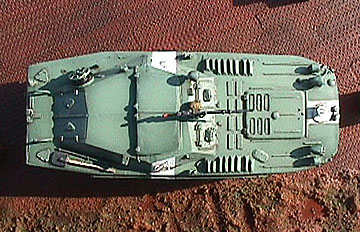
| The BRDM-1 is fully amphibious, being propelled in the water by a single water-jet at the rear of the hull. Before entering the water, a trim board which is stowed under the nose of the vehiclee, is erected at the front of the hull. |
|
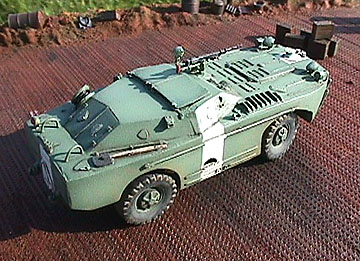
| Most BRDM-1s are armed with a 7.62 mm machine gun pintle-mounted on the forward part of the roof, which has a limited traverse of 45" left and right and can be elevated from -6º to +23.5º |
|
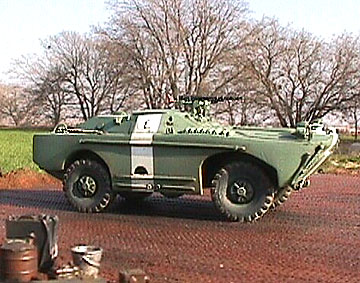
| ACE has done a nice job with detail and accuracy overall, however this kit requires extra effort to clean up and assemble. |
|
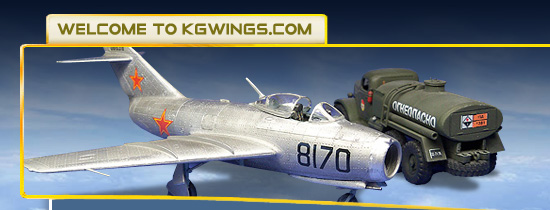
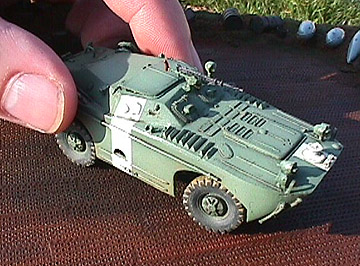
| I put my artistic license to good use and angled the front wheels to add a hint of action to the kit. I also decided to take the decorator approach in painting the shovel as "unpainted" on my kit - the natural wood looks cool against all the green. |
 |
| The top hatch is molded separate so over-achiever modelers can easily turn this kit into an "open top". |
 |
| The decals included with the kit are pretty good, but I couldn't painting my own Czech invasion stripes instead. |
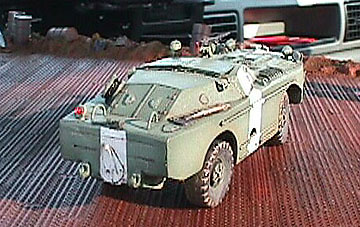 |
| I used my normal sequins and epoxy treatment for the headlamps, searchlight and brakelight. You can see the nice propeller cover and rear hatch detail from this angle. |
 |
| I was very pleased with the finished product and plan to build more kits from ACE' excellent selection of small scale modern Soviet vehicles. |
| BRDM-1 Specifications |
| Crew: 5 |
| Weight (empty): 5600kg |
Dimensions:
Length: 5.7m
Width: 2.25m
Height: 1.9m |
| Maximum Speed: (road) 80km/h (water) 9km/h |
| Engine: GAZ-40P 6 -cylinder in-line gas, water-cooled developing 90hp at 3400 rpm. |
| Main Armament: 1 x 7.62 mm MG with 1250 rounds |

Kit: ACE # 72117
|
 Scale: 1/72
 |
| Review: A detailed build up with photos and kit review is available in the Reviews section. |
| Comments: Details are very good on this kit although it requires quite a bit of clean up to assemble. There are no alignment pins on parts so test fitting and sanding are also required. More details in the Reviews section. |
| Decals: Details of the kit's decal sheet can be found in the Reviews section. |
Paint: I've been fairly unhappy with my previous armor paintjobs up to this point, so I studied the ways of the masters and then pestered a friend of mine with tons of questions (Thanks Kyle) to see if I could get it right this time. With a lot of guidance I was finally able to achieve something I could be proud of.
I started by spraying Testors Model Master "Russian Armor Green" #4808 overall for the base coat. Then I added White to the base color and spayed my "fades". I masked off the invasion stripe areas and sprayed them with Testors Flat White. After hand brushing a coat of Future Floorwax on the entire kit, I used an oil wash of mostly Ivory Black with a touch of Titanium White to darken the low spots. After letting it dry for a day, I mixed up another oil wash of Yellow Ocre and Ivory Black for the "sand" on the tires and undersides. After a little dry-brushing of a lightened base coat, I sprayed on some Testors Dullcoat and called it finished. |
| After
Market Parts: None. |
| Customizations: I used tiny pieces of reflective sequins coated with 3 minute Epoxy for the headlamps and searchlight. Evergreen styrene strips were shaped into headlight guards. Small gauge wire was used for the various handholds. I wound black sewing thread around the communications reel to simulate cable. |
| Cost: This kit sold for around $10.00(US) at the time of writing, a very good value. |
| Research: I obtained bits of data and photos from various websites, and books, however one of the best sources of information was actually the kit instruction sheet! |