 |
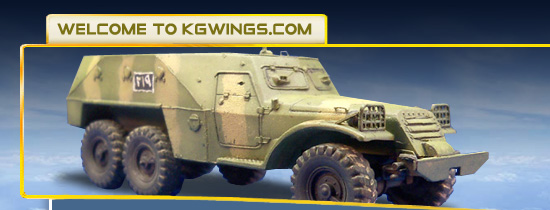
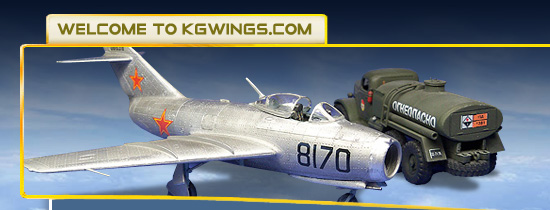
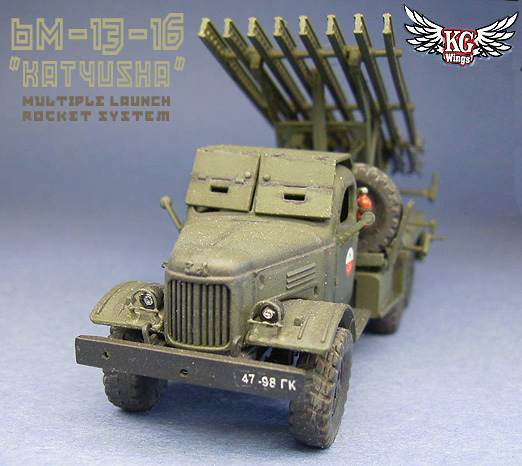
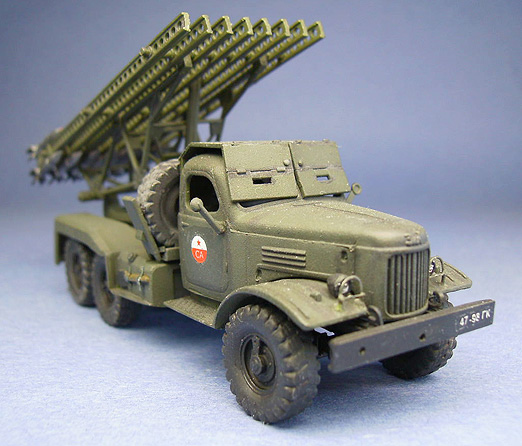
The Soviets began development of what would become the BM-13-16 multiple rocket launcher in 1938. Batteries of truck-mounted launchers would deliver large amounts of explosives to a target area then quickly move to a new position before they could be located by counter-battery fire. |
 |
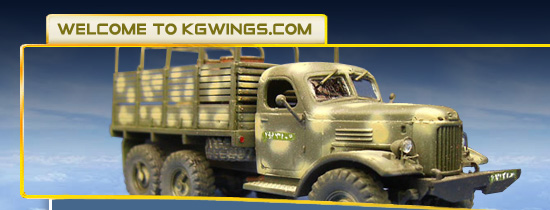
This BM-13-16 launcher is mounted on a postwar Zil-157 truck chassis. Russian designers based the Zil-157 on lend-lease Studebakers which were well liked by Soviet Army personnel. |
 |
Although less accurate than conventional artillery guns, rockets were an extremely effective saturation bombardment weapon. A battery of four BM-13 launchers would fire a salvo in 10 seconds and deliver 4.35 tons of high explosives to a 400,000-square-meter target area, which is roughly equivalent to the power of 72 conventional guns. |
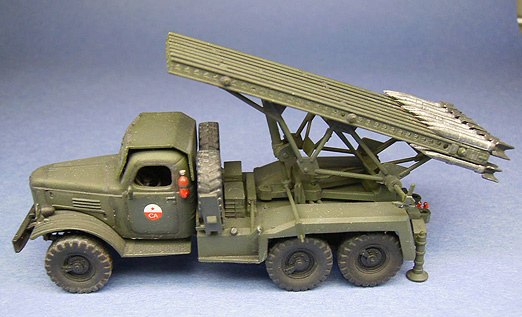 |
| BM-13 launchers were marked with the letter K for Voronezh Komintern Factory, which Red Army troops adapted to Katyusha, the Russian equivalent of Katie. |
 |
| The chassis, cab and undercarriage of this kit are common parts used on all of ICM's Zil-157 truck kits (cargo truck, fuel bowser, command truck, bm-14-16 and bm-24-12) as well as various kits manufactured by Mac, Omega-K, ACE and Trumpeter. |
 |
| Cleanup of the rocket parts is a bit tricky, but they turn out looking pretty good in the end. |
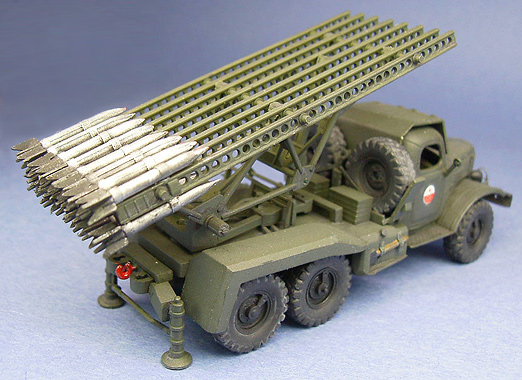 |
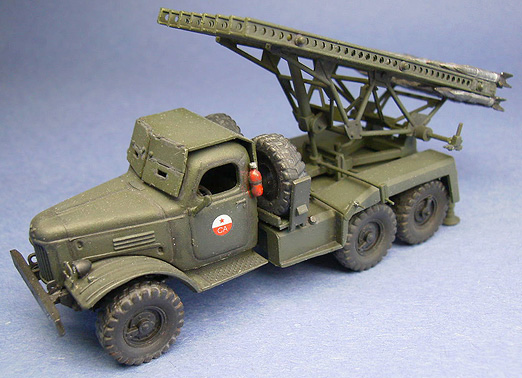
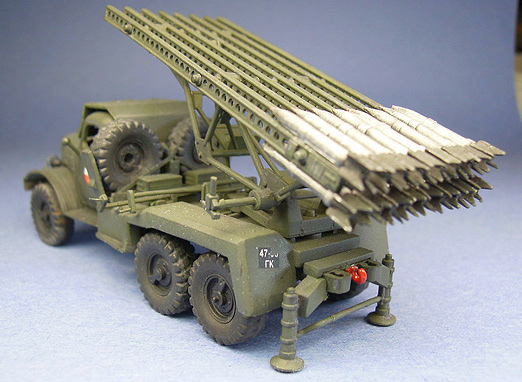
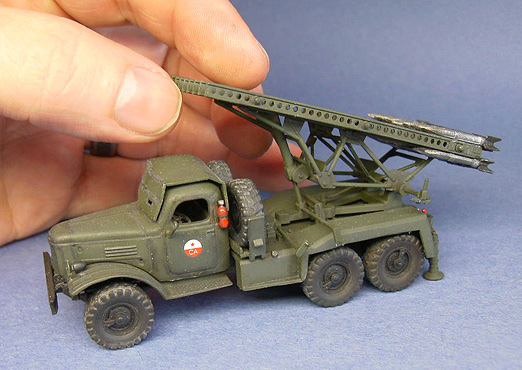
| The launcher is less complicated than it looks and actually went together fairly well. Alignment of the rails takes special care. |
 |
| The tire tread pattern isn't perfect, but looks pretty convincing after painting and weathering. |
 |
| Soviet green can be a bit boring, if I were to do it again I might exaggerate the dirt and dust to give it more interest. |
 |
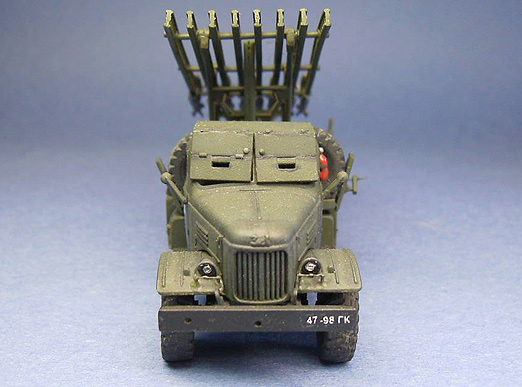
I thinned down the cab's blast guards as they were way too thick for the scale. Headlight guards were made from copper wire. |
 |
| A closer look reveals that I had some unresolved alignment problems with the launch rails. Too bad I didn't notice until now! |
 |
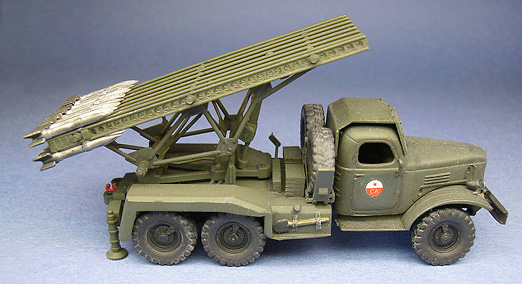
| The end result is a fun little truck with just enough detail and accuracy to please the average modeler. |
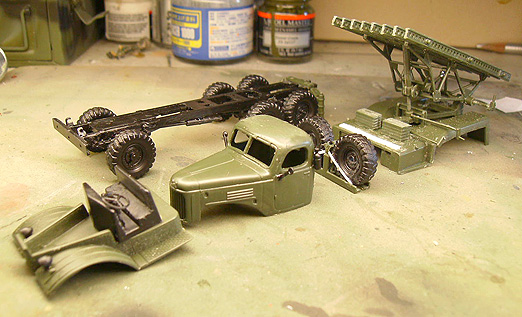 |
| Here's my Katyusha before final assembling and painting. Overall I was very happy with how the kit turned out. |
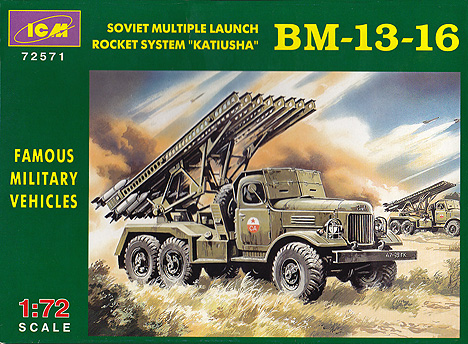 |

Kit: ICM #72571 |

Scale: 1/72 |
Cost:
This kit retails for $12.00 (US) at the time of writing. I got mine for a bargain price of $5.00 during Squadron Mail Order "Open House". |
Decals:
Decals provided for Soviet Army, Romania, Czechoslovakia, Poland, and more. Printed in register and opaque. |
Assembly:
128 parts in the box, molded in green, black and clear. 3 brass axles, 1 decal sheet and 1 instruction sheet.
The chassis, cab and tires are common parts found in all of the ICM Zil-152 kits (also packaged as Omega-K and MAC). All molded reasonably crisp with light flash. There are no part numbers molded on the sprue trees so you have to do a lot of careful referring to the instruction sheet.
Assembly starts with the chassis which is fairly straight forward however test fitting revealed that the cab sits too far forward to clear the front tires. My solution was to move the mounts for the front springs forward a couple of mm. The rest of the cab and chassis assembly went smoothly. The cab's interior is simplified but has just enough detail to look acceptable after closing up.
The rocket launcher is a complex assembly that requires careful alignment. Each rocket is molded in halves which are difficult to line up and require sanding to remove the seams.
|
| After Market Parts Used: None |
Modifications:
Sanded and thinned all fenders to make them more to scale. Copper wire was used to make headlight brush guards. Stryene strips were used to add supports to spare tire storage racks. |
Recommendation:
Assembly is a bit tricky due to no locating pins on the bed and cab, and there are many small parts so beginners might struggle a bit but most modelers will prevail and be happy with this kit. Recommended for any fan of small scale modern armor or artillery. |